Easiest Way to Tie Running Shoe Laces: Perfect Your Run from the Start
Every good run begins with a solid foundation—and that starts with how you lace your running shoes. For many runners, lacing feels like an afterthought, but mastering the easiest way to tie running shoe laces can dramatically improve comfort, reduce blisters, and even prevent heel slippage. Whether you’re new to running or switching shoes, finding a reliable lace technique keeps your feet secured through miles without constant frustration. So, let’s dive into the simplest, most effective lacing method that works for nearly everyone.Why Lacing Matters for Runners
Running places unique demands on your feet, and improper lacing can turn a smooth run into a painful session. The right way to tie your laces ensures consistent ankle support, stops your heel from tugging loose, and distributes pressure evenly—key for avoiding chafing and discomfort. A well-tied lace setup protects your foot’s natural alignment, especially during long distances or on uneven terrain.Easiest Way to Tie Running Shoelaces: Step-by-Step
For most running shoes, the criss-cross lacing pattern is both intuitive and secure—it’s widely regarded as the easiest way to tie laces without fumbling. Here’s how to do it in three simple steps:1. Start with one lace loop forming a loose X on the lacing top. Place the knot on the far side (the “top” of the X), with the recommended lace (usually the one positioned to stay front) under its corresponding underpass.
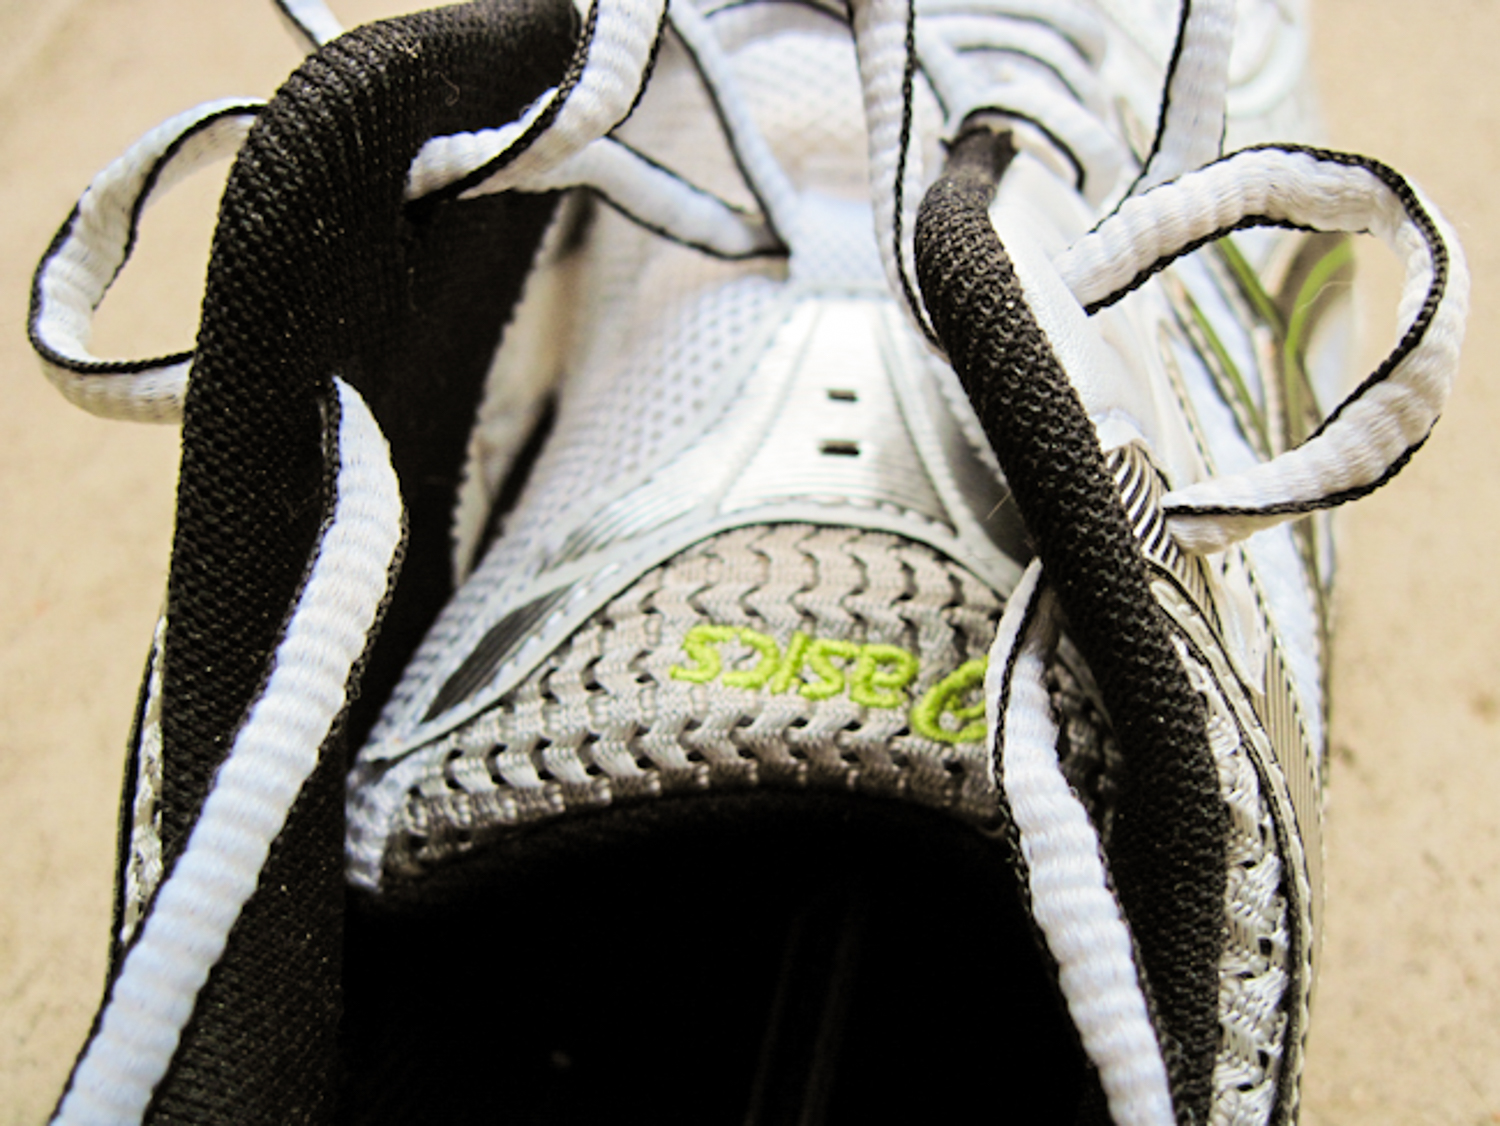
Moving forward, it's essential to keep these visual contexts in mind when discussing Easiest Way To Tie Running Shoe Laces.
2. Bring the top lace under the loop you just formed, then pass it through, crossing it over the center like you’re weaving. Pull it tight, maintaining even tension to avoid loose spots.
3. Continue lacing normally: cross each lace pair in an alternating criss-cross pattern from toe to ankle, then pull securely to finish. This method ensures your laces are symmetrical and tightly anchored—key for a stable fit every time.
Variations & Tips for Comfort

Always pull laces tight, especially the top lace, to lock your heel and reduce shifting. Experiment with techniques during training runs to find your personal best—comfort is individual, and the “easiest” method may vary by foot shape and gait.
Four Practical Lacing Styles for Every Foot

- CRISSCROSS PATTERN: The most popular, most reliable choice—ideal for standard foot shapes and balanced support.
- PARALLEL LACING: Straight laces criss-cross close together; favoured by athletes needing reinforced ankle security.
- LANDER LACING: Patterns form diagonal ridges resembling a ladder—supports arch control and minimizes slippage.
- KNOT UNDER KNOT: A minimalist style where both laces cross and tie with a double, challenging but effective for wide feet.
Heel Slippage? Fix It with the Right technique
If your heel slips during runs, your laces might be too loose or crossing improperly. Adopting the “easiest way” means fine-tuning tension—experiment with deeper crosses, tighter knots, or the parallel pattern to anchor high arches better. Pair lacing with proper shoelace tension and consider thicker insoles for extra grip. Learning how to tie running shoe laces properly isn’t just about comfort—it’s about confidence in your setup. When laces are securely tied, your shoes fit predictably, reducing dado friction and blisters. Whether you’re training for a 5K or a marathon, mastering this simple step transforms your daily runs into consistent, uplifting experiences.The easiest way to tie running shoe laces transcends a trick—it’s your foundation for better form, less pain, and more miles to celebrate. Try it today, and feel the difference every time you step out—your feet (and your runs) will thank you.


 - wikiHow")


![Picture of Top 12 Shoe Lacing Techniques [Images + Video] | RunRepeat](https://i.pinimg.com/originals/2d/3b/89/2d3b89959dc445245c2b9ba3ba2e80dc.jpg "Top 12 Shoe Lacing Techniques [Images + Video] | RunRepeat")


")