Create a New Discord Server: A Step-by-Step Guide
Discord has become a popular platform for gamers, communities, and businesses to connect and communicate with each other. However, creating a Discord server can seem daunting if you're new to the platform. In this article, we'll walk you through the process of creating a new Discord server in a step-by-step manner.
Getting Started
Creating a New Server
Now that you have the app installed, let's create a new server. Click on the "+" icon at the bottom left corner of the Discord window. This will open a pop-up window that will give you the option of choosing a blank slate for your server or a template.
Selecting a Template or Creating a Blank Slate
Now that you've created or selected a template, it's time to tell Discord what your server is for. Choose between "a club or community" or a server for you and your friends. You can skip this for now if you'd rather not pick a label.
Customizing Your Server
Once you've created your server, it's time to customize it! You can add channels, roles, permissions, and bots to create a server that meets your needs.

Channels
Channels are the individual discussion spaces within your server. You can create text channels, voice channels, or even video channels. You can also customize the name, description, and settings for each channel.
Roles
Roles are like hats that users can wear within your server. They can have different permissions and settings, such as the ability to manage channels or create events.
Permissions
Permissions determine what users can and can't do within your server. You can set permissions for each role, such as the ability to create channels or manage members.
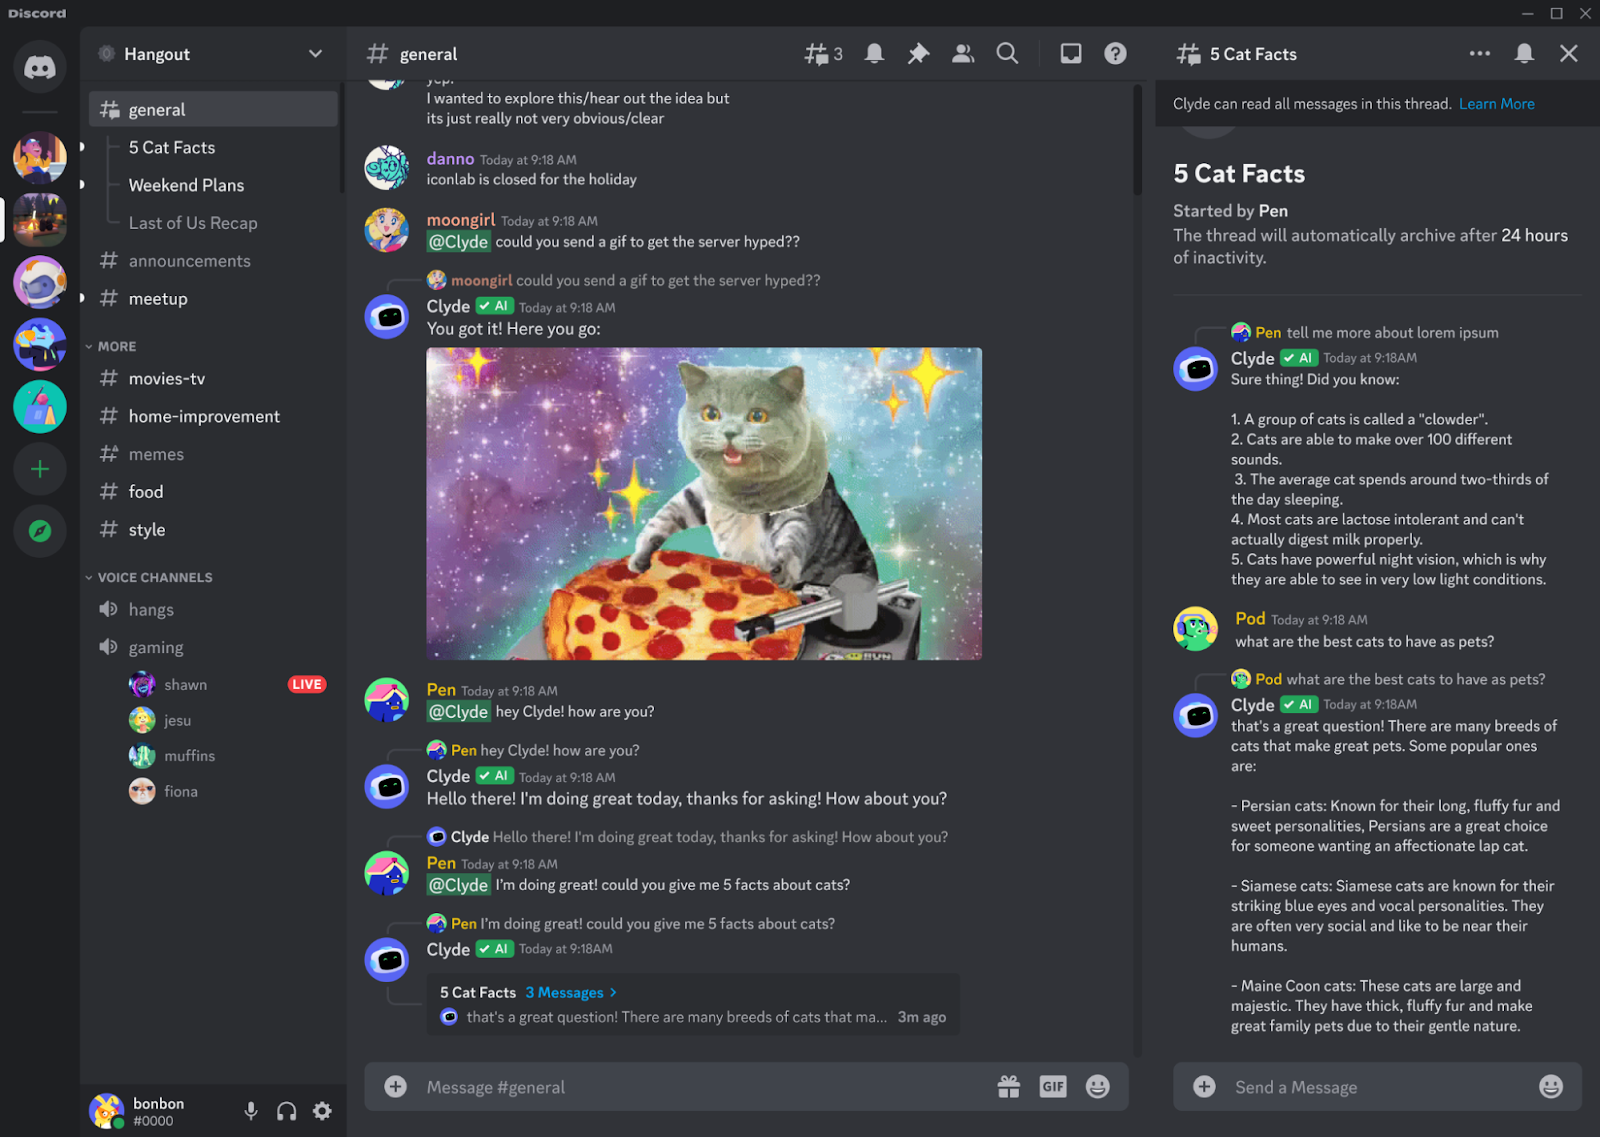
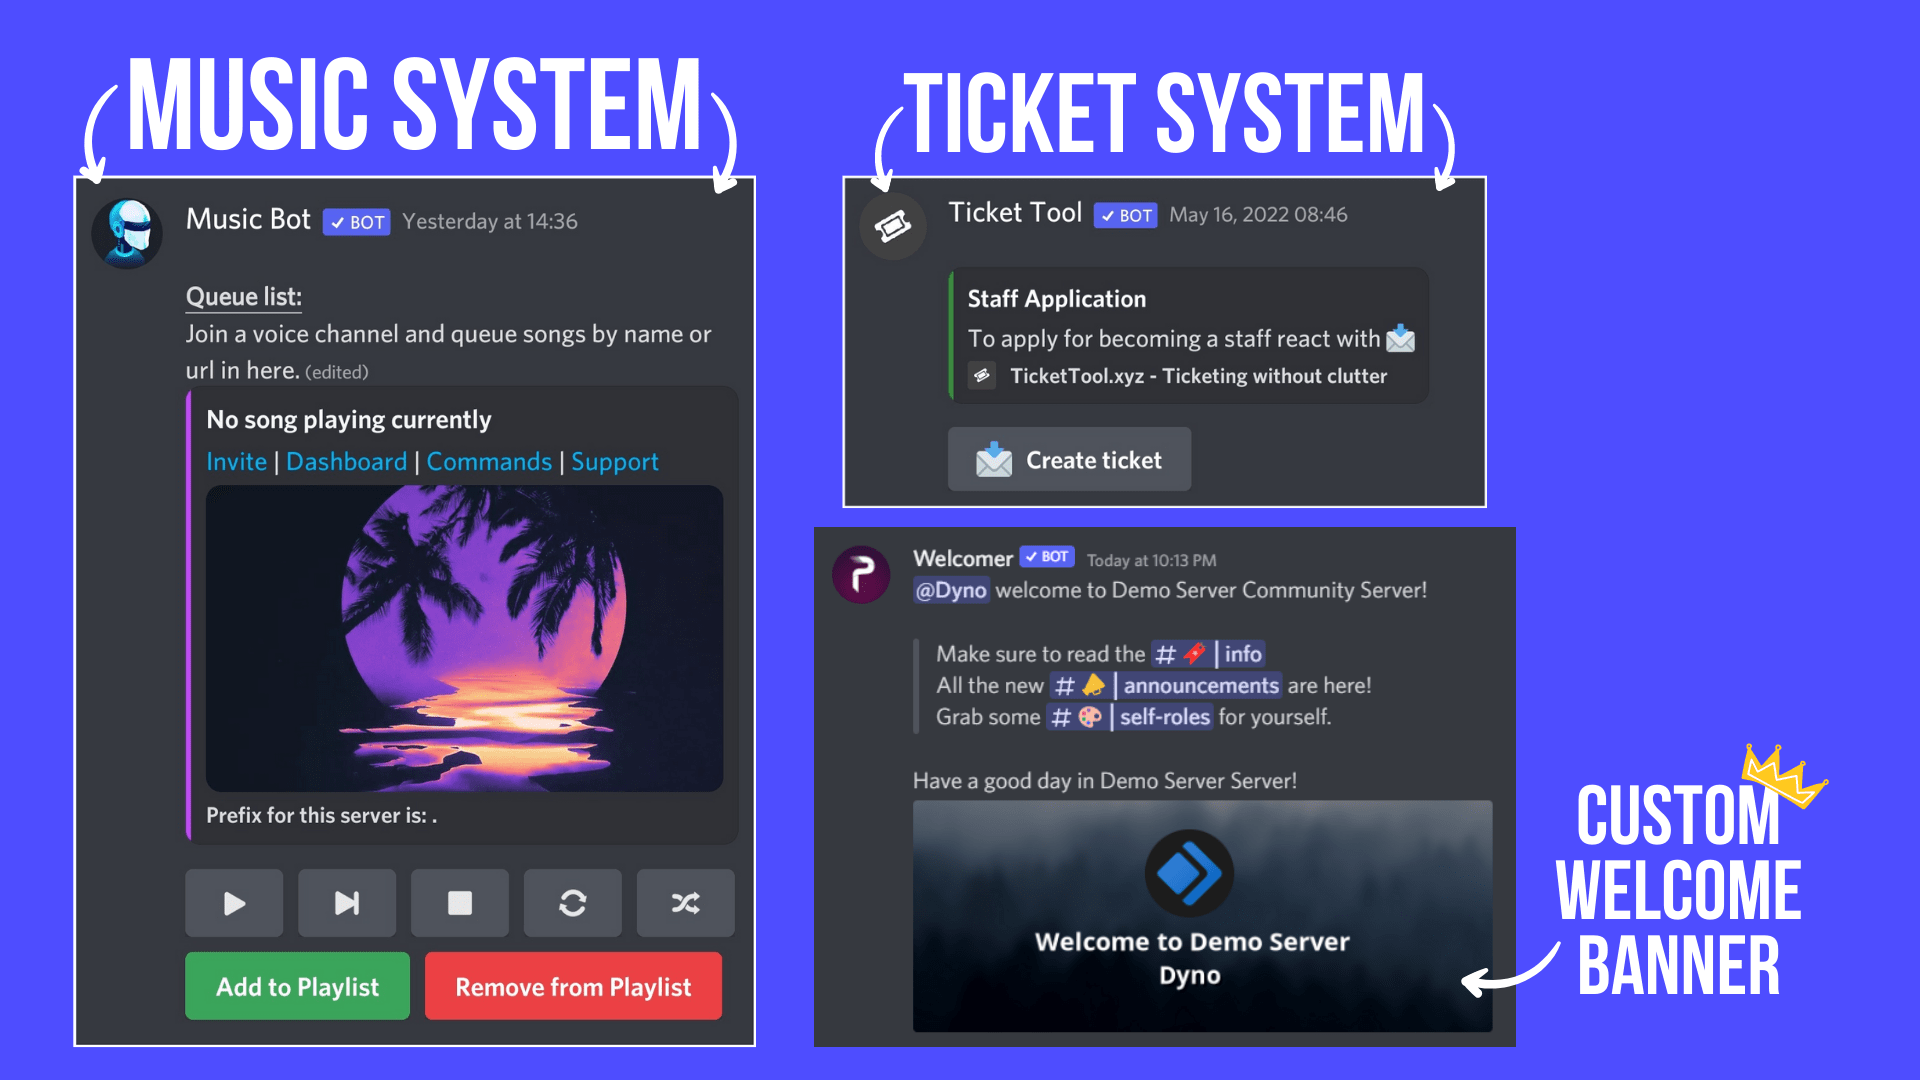
Bots are automated programs that can help you manage your server. You can add bots to perform tasks, answer questions, or even play games with your members.
Setting Up Channels and Roles
In this section, you'll learn how to set up channels and roles for your server. We'll cover how to create text channels, voice channels, and roles, as well as how to customize their settings.
To create a text channel, click on the "+" icon in the channels section of your server settings. This will open a pop-up window where you can enter the name and description of your channel.
Creating Voice Channels
To create a voice channel, click on the "+" icon in the channels section of your server settings. This will open a pop-up window where you can enter the name and description of your channel.
To create a role, click on the "Roles" tab in the server settings. Then, click on the "+" icon to create a new role. You can enter the name, description, and permissions for each role.
In this section, you'll learn how to manage your server members, including how to add members, remove members, and manage their roles and permissions.
To add a member to your server, you can use the "Invite Member" button in the server settings. This will generate a unique link that the member can use to join your server.
Removing Members
To remove a member from your server, you can click on the three dots next to their username and select "Remove Member." This will remove the member from your server and all channels within it.
Managing Roles and Permissions
To manage roles and permissions, click on the "Roles" tab in the server settings. From there, you can edit the roles, permissions, and settings for each role.
Integrating with Other Services
Integrating with Twitch
Integrating with YouTube
Final Tips and Tricks
Here are some final tips and tricks to help you get the most out of your Discord server:


 - flat.social")

